Yes, there’s an art to Christmas tree decorating … but there’s certainly also a science. Stylist Julie Kleski has 20 years of professional design experience, and there’s an outline she follows every time.
While we each have our own decorating style, following five steps can help you create a seasonal showstopper.
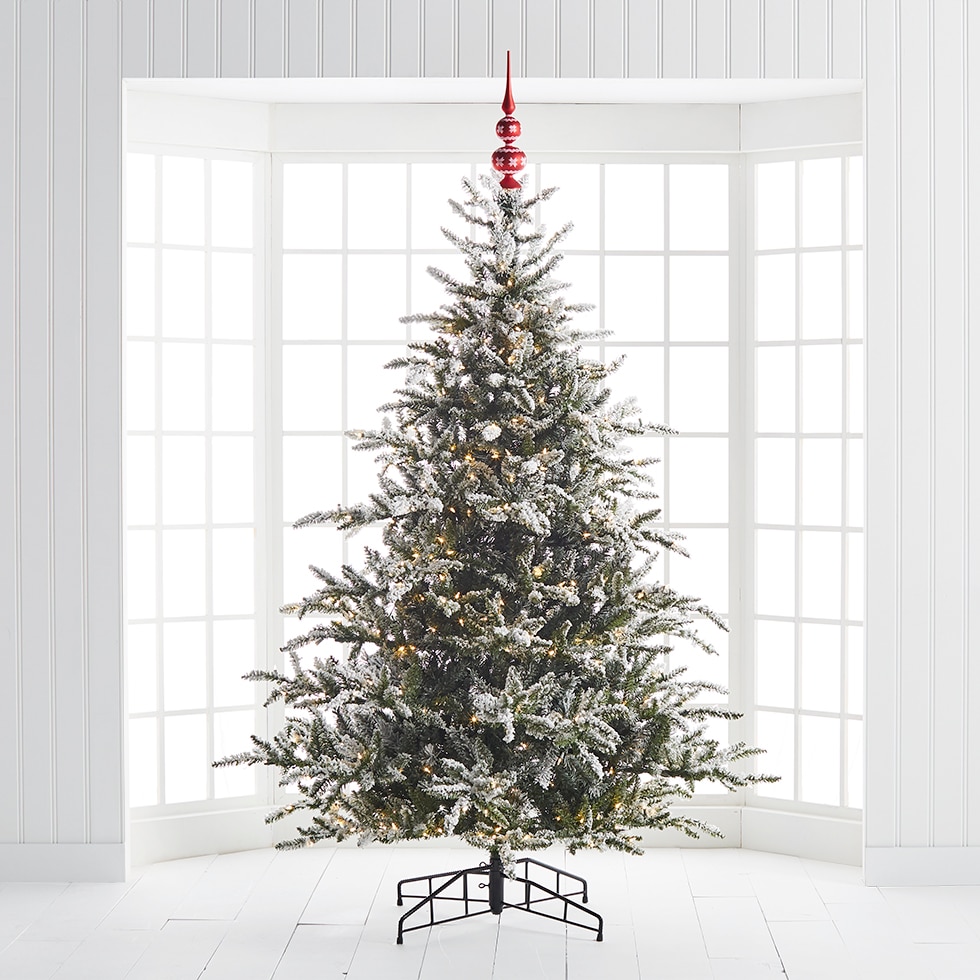
Shape and Fluff
An often overlooked (or rushed) step is shaping the tree after unpacking. Every branch and tip should be carefully fluffed, which creates fullness and opens up pockets to hang ornaments. Savor your favorite Christmas playlist while you work your way up the tree.
“Try to do it by layers – put the first section in the stand, and then fluff that one completely, then put the second section in, then fluff, and so on,” she says. “That gets to the inside more, which is what helps fill the tree out.”

Crown Your Tree
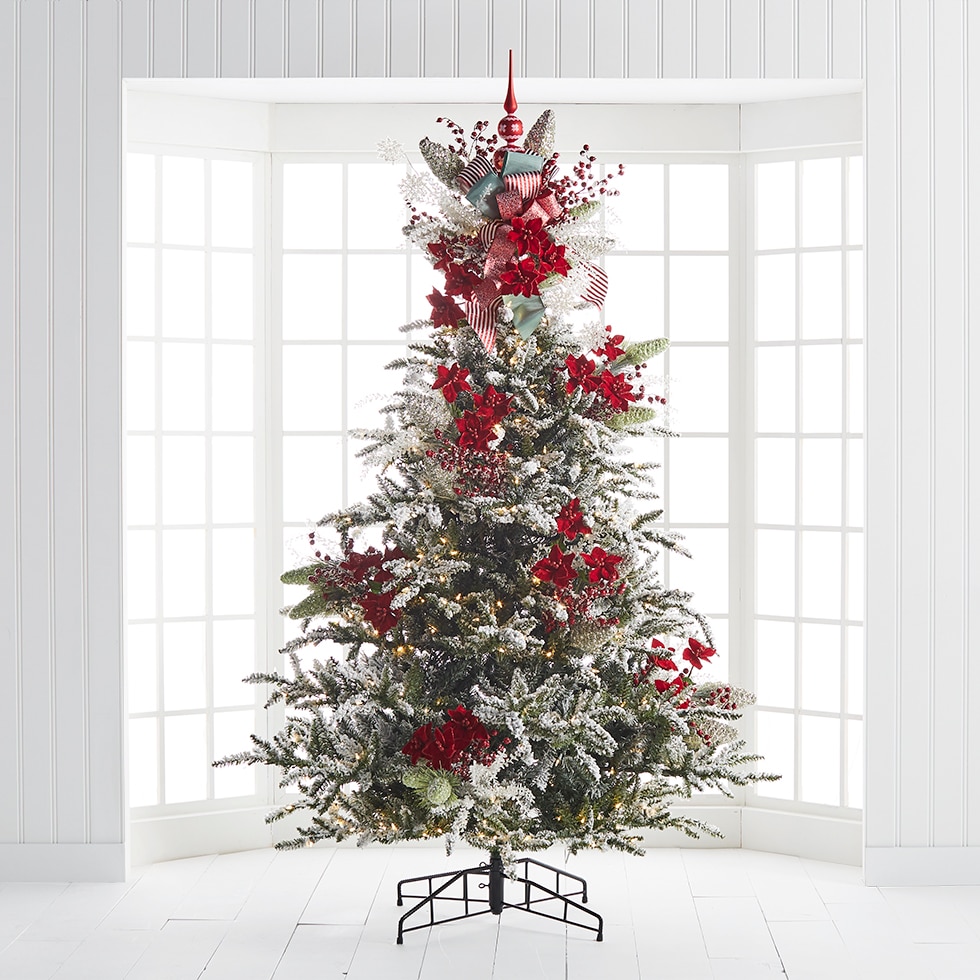
Though it might feel like the last step, the tree topper is where Julie starts. “The topper sets the tone,” she says. It’s also a smart place to start because it can be awkward topping the tree after it’s full of decorations.
While you can use a finial, a bow, an angel or something traditional, Julie has used items such as a favorite doll or even a foot-tall Santa to top a tree.
“If you use a nontraditional topper, the way to make it blend in is by filling in with picks and flowers,” she says.

Create Focal Points
Julie targets a few spots on the tree to group ornaments, picks, flowers and ribbons for extra attention. “I create focal points so your eye has a resting space,” she says.
Varying ornament sizes and shapes will add depth and interest. “Putting in even as few as five large-sized ornaments helps create focal points,” Julie says. “Whatever color we’re emphasizing, I try to match that through the topper and the focal points.”

Wrap With Ribbons
Julie usually uses at least two ribbons on each tree. Varying the widths of your ribbons adds visual intrigue. And tucking the ribbons in at various spots, including the focal points, helps them flow through the tree.
“I start with the widest ribbon,” Julie says. “I start at the top and make small loops where it tucks into the tree, and then bigger ones as the tree gets wider toward the bottom. I then use another ribbon or an ornament or a pick to cover up where I have tucked it in.”

Layer with Ornaments
Julie puts traditional ornaments – like single-colored spheres – deeper inside the branches. She goes one color at a time, dispersing each group around the tree before moving on to the next color of ornament, thereby ensuring a color balance. Then she finishes with the most decorative ornaments on the tips for maximum visibility.
How many ornaments does she use? For a high-density arrangement, Julie says she uses at least 200 ornaments on a 9-foot tree. But the amount used is purely a matter of personal taste.

Watch Julie’s Designer Tips
Julie demonstrates an easy way to attractively hang ornaments.
Julie shows how to use ribbons, tree stems and flowers to create focal points in the tree.
Now that you’re ready to decorate, show us how you #frontgate by following @frontgate on Instagram and sharing your photos.


